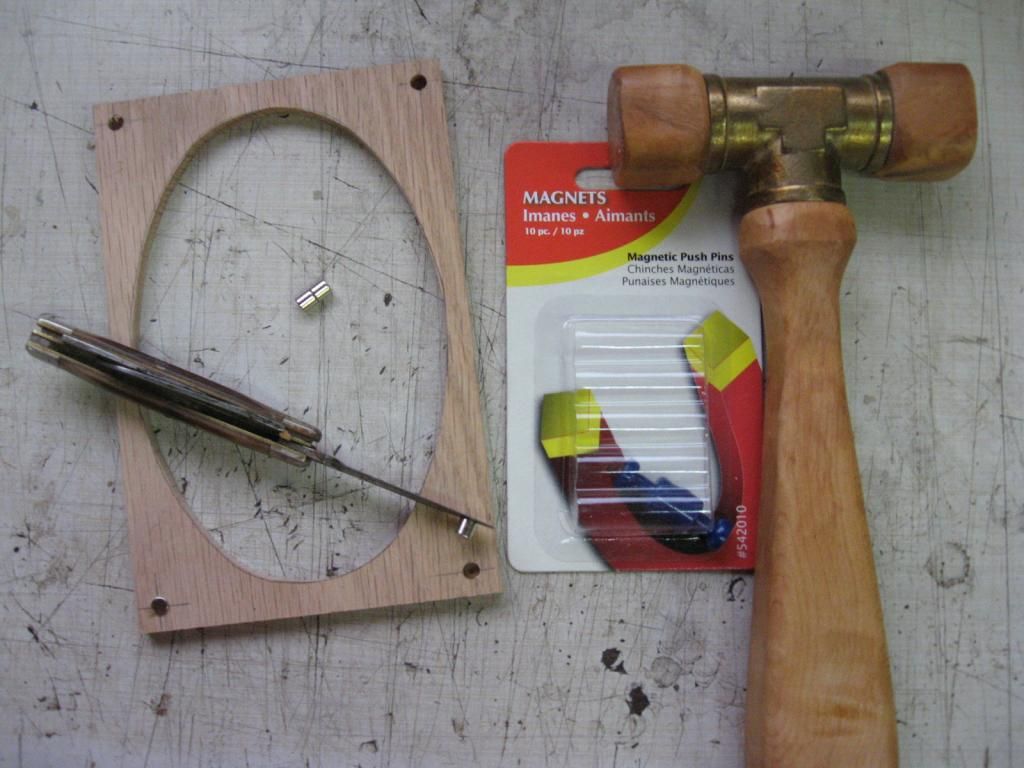
As for the magnets, I buy them at Lowe's (or any home/hardware store) and they come in packages of ten and are fairly inexpensive.
They are the "Push Pin"style magnets that people use to post notes or pictures on their refrigerators. They look like the push pins that are used on cork bulletin boards with the plastic knobs on them but, if you crack off the plastic using a vice or pliers, there is a little 3/16" diameter x 3/16" long magnet that is fairly strong. JUST PERFECT for this application.
I use an old pocket knife and a small mallet to install the magnet in the 3/16" holes. If there is concern about them falling out (like maybe the hole is a bit too large

) you can put a drop of superglue or epoxy in the hole to keep them in place.
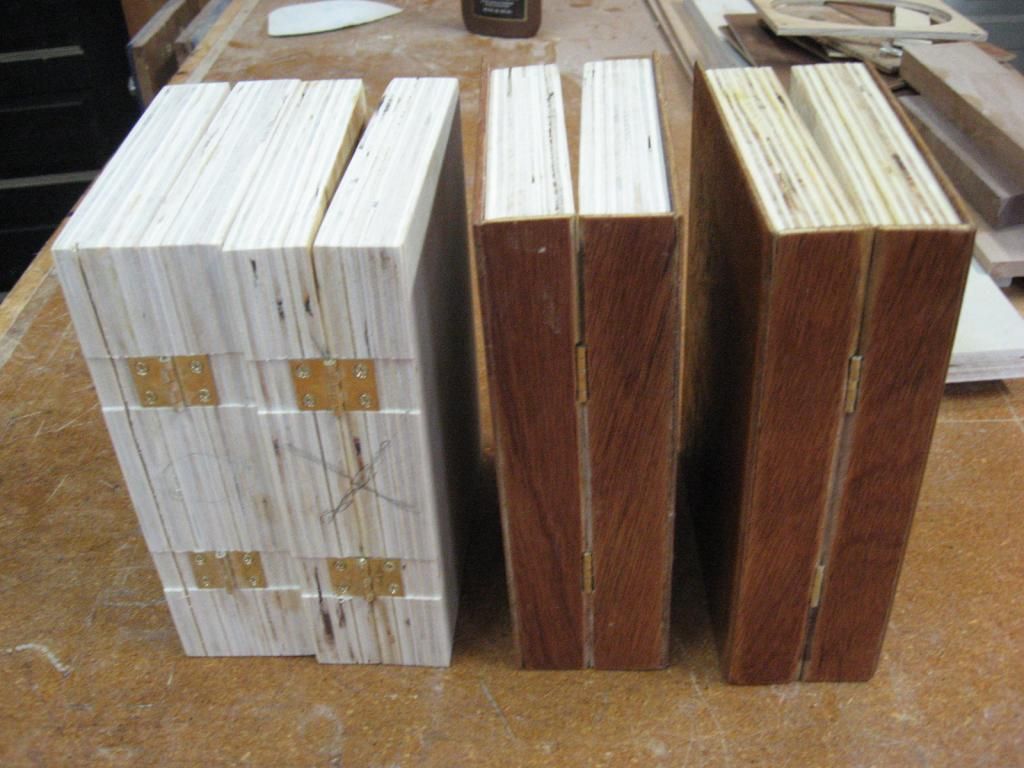
As for the cover, it is pretty straight forward. Just cut two pieces of thin wood about 1/4" larger than the book and glue it on.
I used door skin material but again, any wood can be used including plywood. I recommend that it be no thicker than 1/16" especially the two pieces for the spine. Which brings to mind....After cutting two strips of cover material the exact thickness of one half of the book for the spine, you will need to notch out for the hinge barrels and sand an angle (or taper) on the center edges so that the book will open properly. The angle will have to be 45 degrees or better so that the book will open to at least 90 degrees or more.
As for the inlay on the front cover.........That is a subject for another tutorial....and is entirely up to you. You can put lettering on it as I did on one of mine or a picture like a heart or anything. Heck, I left the covers on two of my books blank!

Rog


