Now it gets a bit more difficult.
I used 1/4" thick oak for my frame and cut an oval opening in the center. You can use any kind of wood, even plywood, JUST BE SURE IT IS AT LEAST ONE QUARTER INCH THICK or greater! You can cut an oval, a circle, a square or any shape out of your frame. just cut the outside of the frame about 1/16" smaller than the center section of the book that you cut out before. AND make sure you leave some "meat" in the corners for magnet holes.
The critical part of the frame is that we are going to drill a 3/16" hole 3/16" deep in the back of the frame for magnets so it must have about 1/16" of wood to hide the magnets.
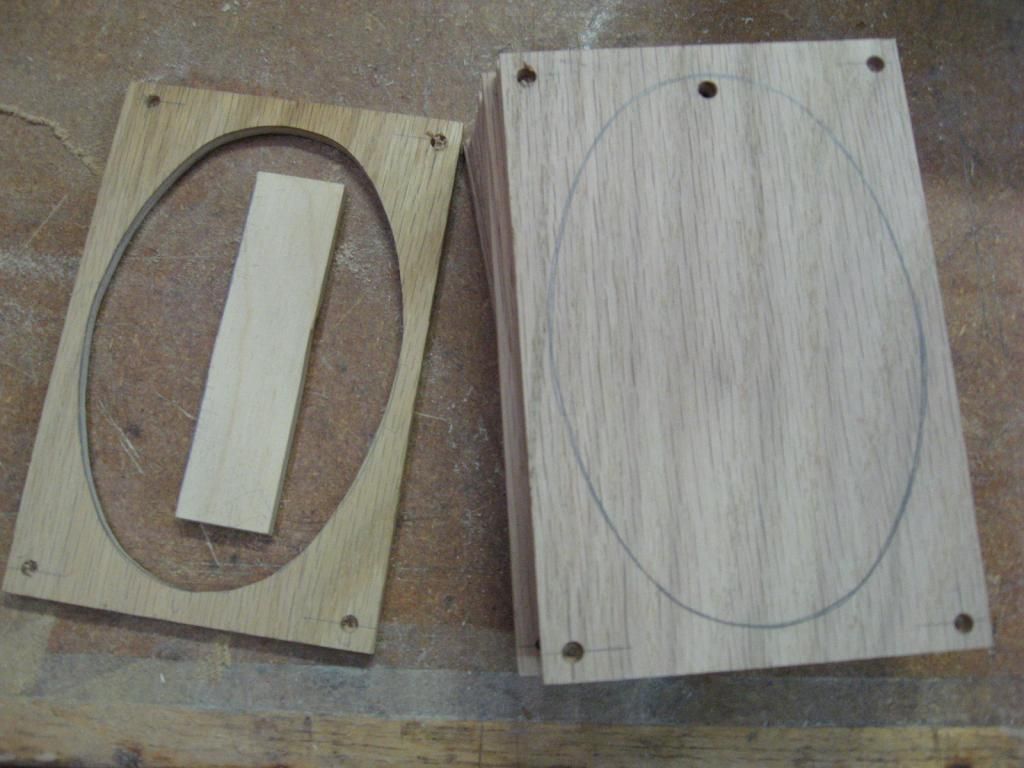
I was making four books at a time so I made a pattern for cutting eight ovals all the same (or close enough

). And the small scrap of 1/4" plywood was a gauge for locating the magnet holes from the outside edge of the frame and the screw holes for the inside of the book cutout.
I used a 3/16" BRAD POINT drill bit because it leaves a fairly flat bottom in the hole for the magnets. AND WE DO NOT want to drill all the way through the frame. By the way, the 3/16" hole just inside the oval is the starter hole for the scroll saw so, IT IS drilled all the way through.

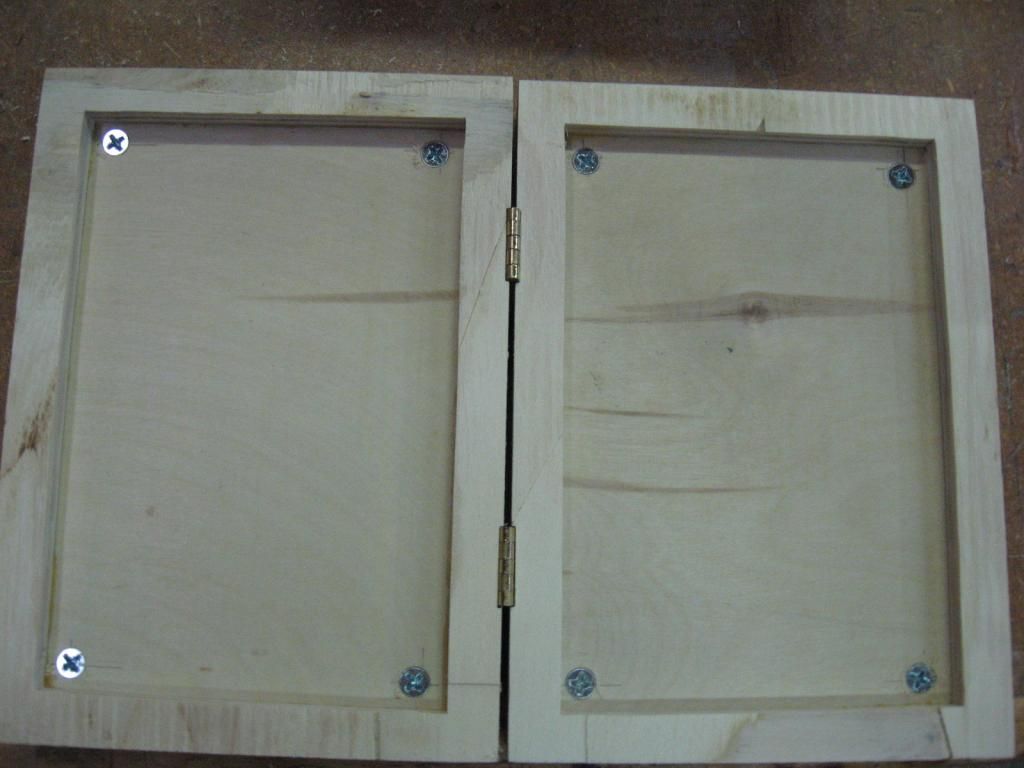
Now go back to the book.....Using the 1/4" scrap/gauge mark for holes and drill for the screws using a countersink style drill bit. I used #8 screws 1/2" long. Again do not drill the screw holes all the way through. However, the cover will hide those holes if you should slip up a bit.

Next, I will answer your question....."Where do you get your 3/16" magnets?" and we do the cover of the book.
Rog


