Author Topic: 3D, puzzle, fish, key chains  (Read 3982 times)

Offline Rapid Roger

  • *****
  • Hero Member
  • Posts: 1468
  • Hutchinson, Kansas
    • View Profile
3D, puzzle, fish, key chains
« on: March 24, 2014, 10:52:37 am »
OK, I'm going to try to post a tutorial on how I make these "interesting" key chains.
I apologize for the pictures as some of them are not very clear but, they may help understand the process.
I had a pattern originally but, I found it easier just to draw directly on the wood and cut from there.
DON'T SAY "I CAN'T DRAW A STRAIGHT LINE." There are very few straight lines in them and besides every one of them will be a little different and that is the really cool part of them!   ;D 
You can use any hard wood you want to (that is another cool part) but, plywood is out of the question. Don't even try it! B. T. D. T. and got the T shirt.
I use both 1/2" and 3/4" thick wood but, almost any thickness will work. It is not a large piece of wood, I usually make them about 1" x 3" but again that is not important. Just don't make it too big or thick that it is clumsy for a pocket or purse.
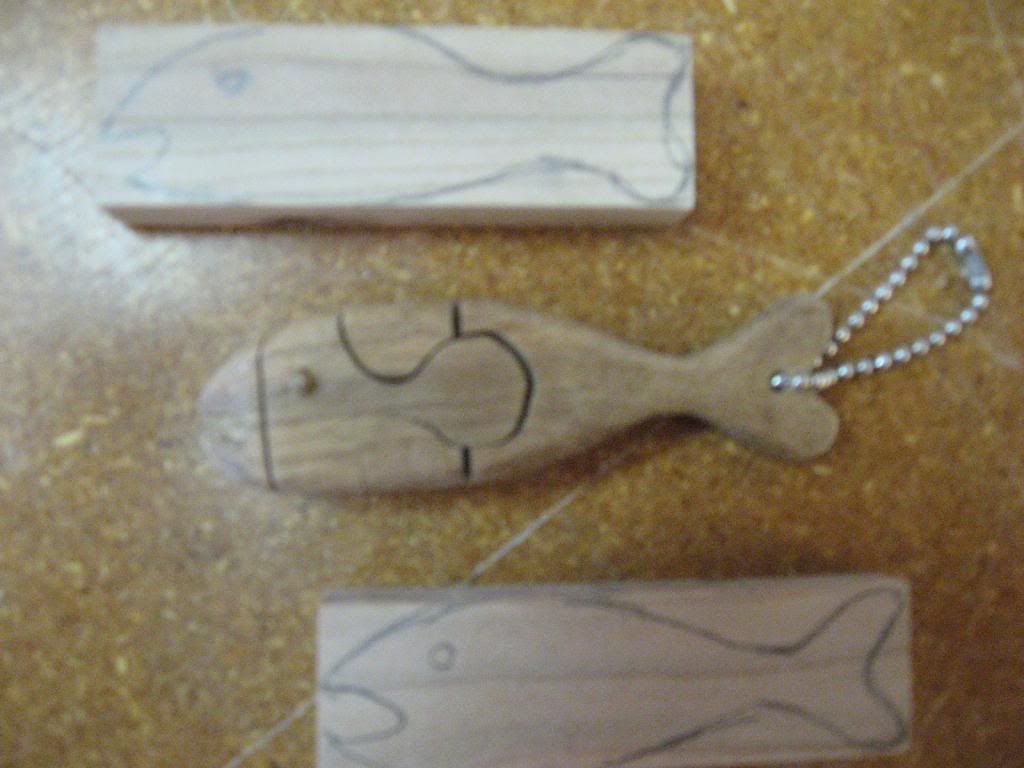


Cut peg and drill eye hole so that it is a PRESS fit. This is important for holding the whole thing together. Draw two jigsaw puzzle shaped pieces on the top.
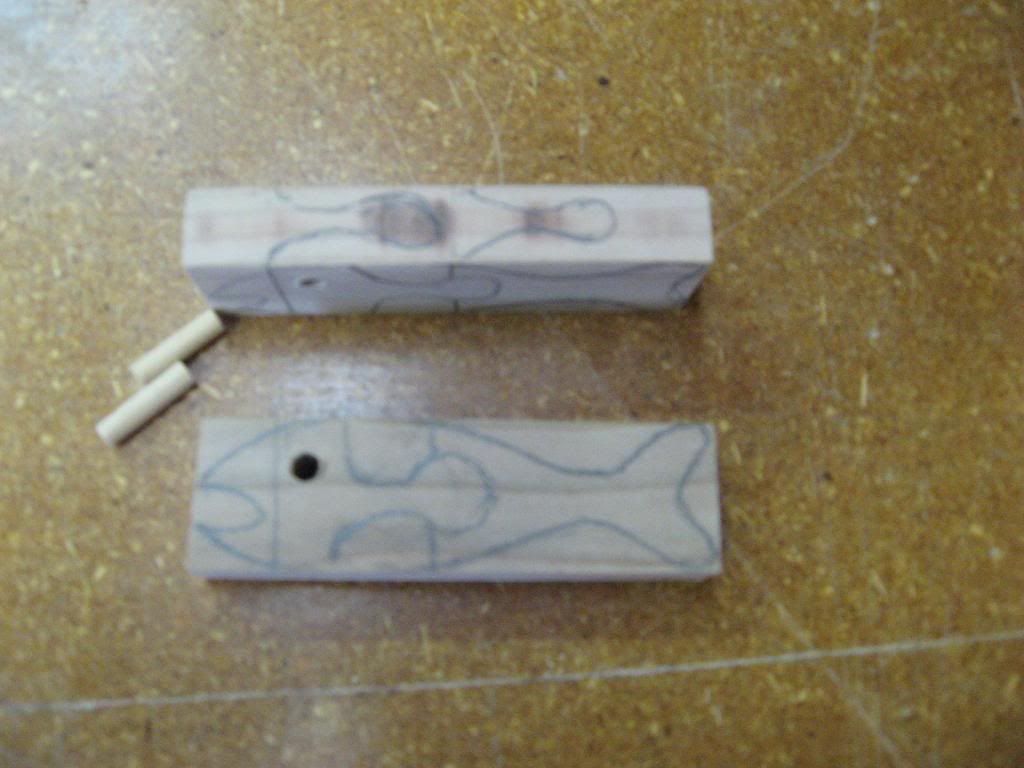


Cut the shape of the head from the front first and then the first puzzle piece from the top. Be sure to start the cut from the top BETWEEN the mouth and eye.


Now cut the second segment (which contains another puzzle shaped piece) from the front. Start this cut in an area that will trap the shape you cut from the top.
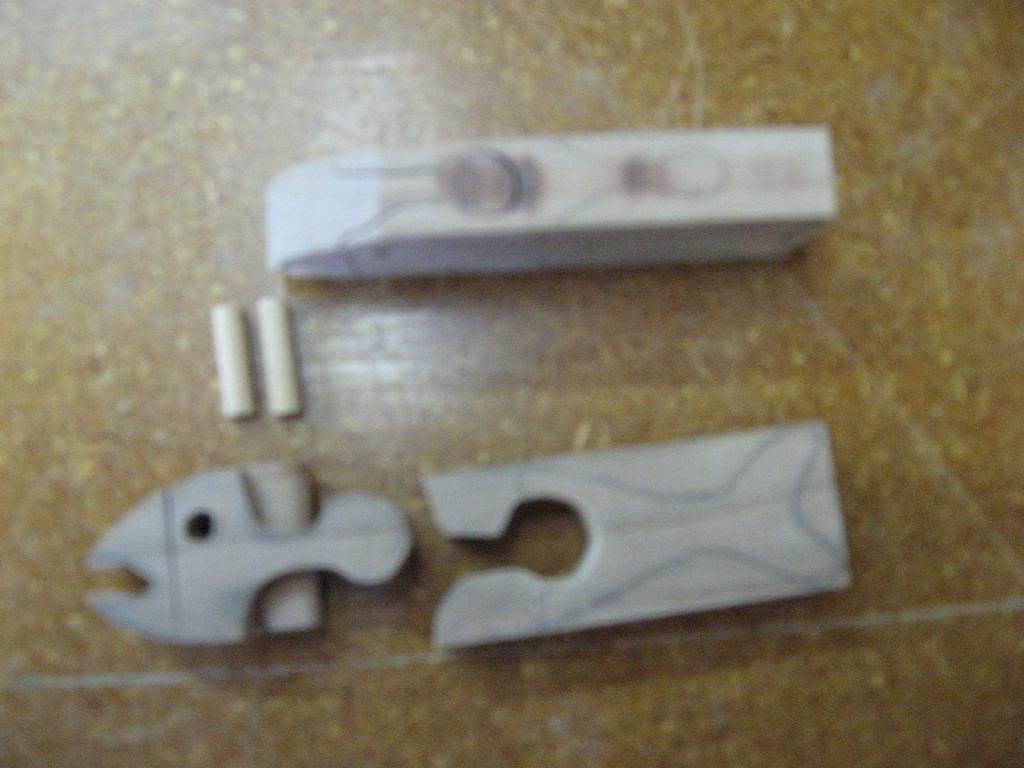


Cut the second puzzle shaped piece from the top. Again be sure to keep the side shape so that it traps the side piece.
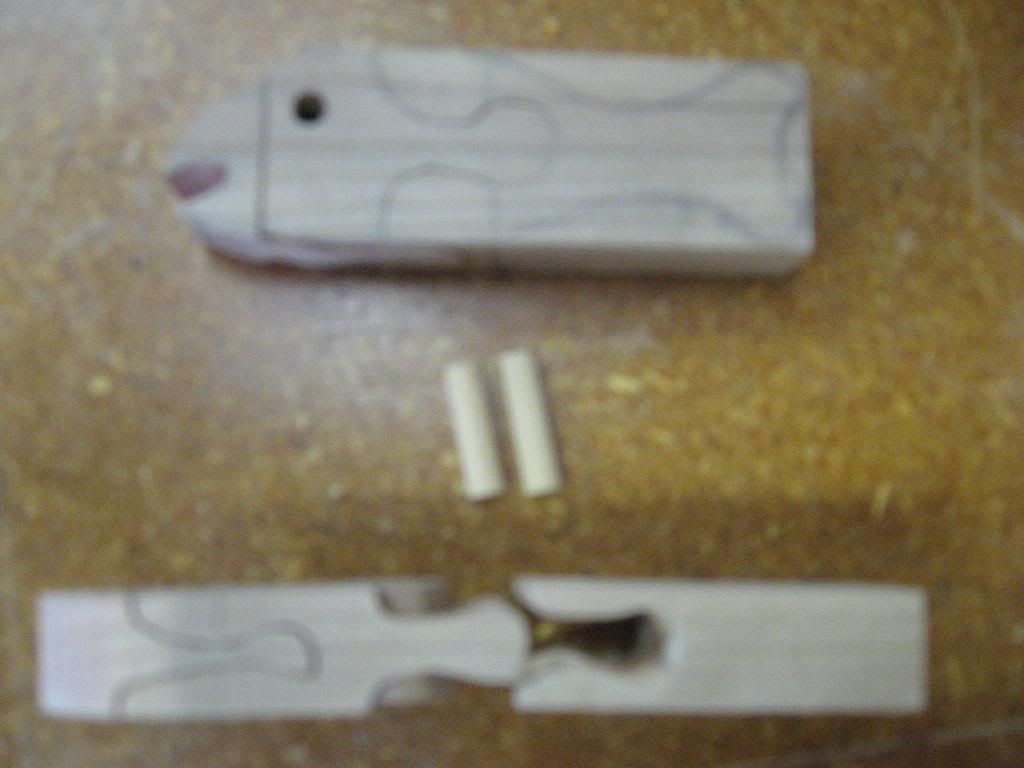


Once that is done, you can assemble the whole thing and use the peg to keep it together to cut the remainder of the fishes body and tail.  Then while it is all together, go ahead and knock off the corners of the head from the top, slim down the area at the tail and start sanding


SAND, SAND AND SAND SOME MORE!  :D :D :D   Shape to suit yourself. Finish as you want to, it's your fish now!  ;)


I forgot to mention to drill a hole in the tail to incorporate the keychain but, I figured that ya'll could guess that.

I hope this helps and encourages you to try new and different things in your scrollsawing.
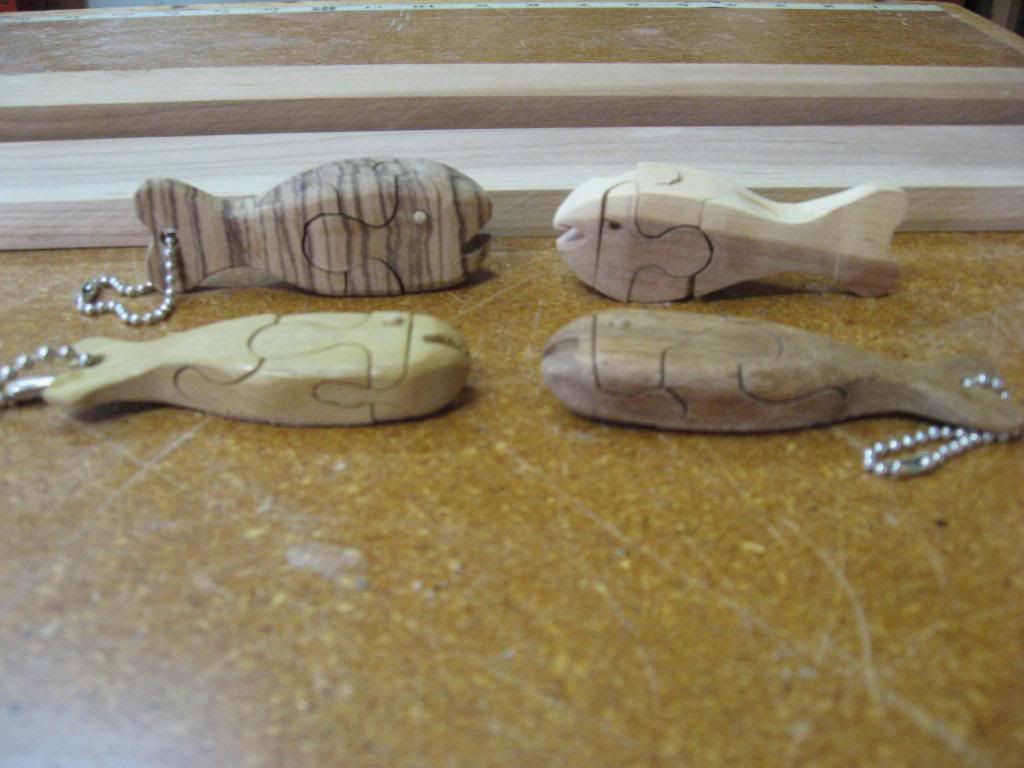


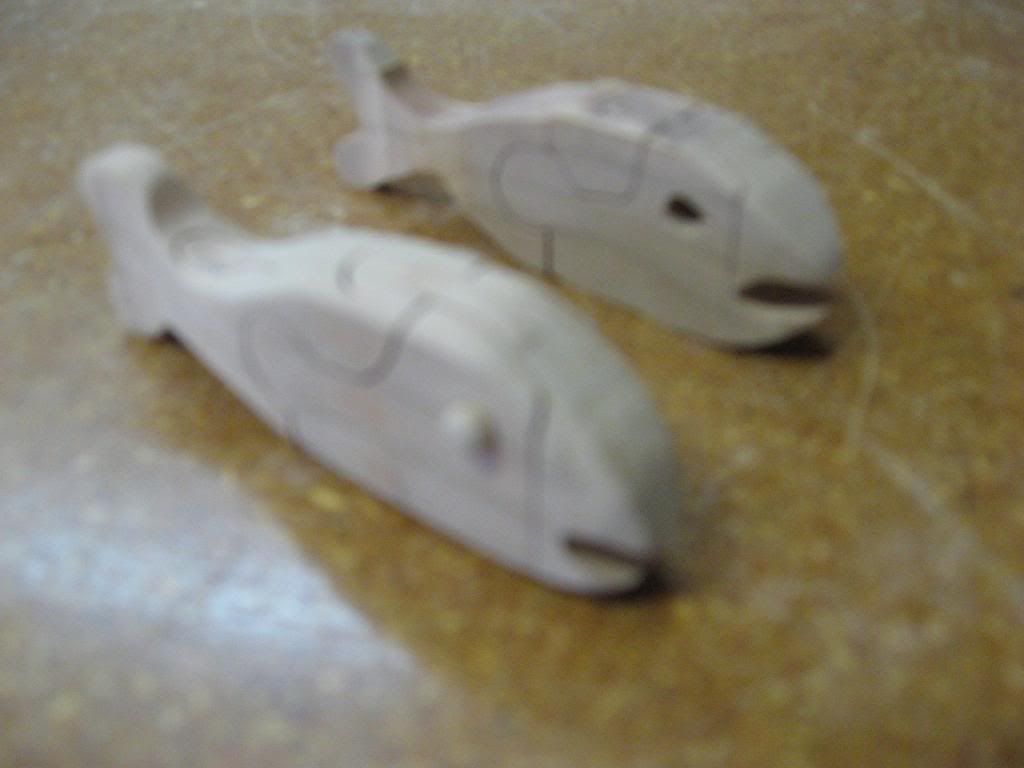
Upper left....Zebra wood.  Upper right....Cedar wood

Lower left ....Poplar wood.   Lower right ....Walnut 

And the ones I cut for this tutorial were cut from Cherry wood.

Rog


An ounce of responsablity is worth 10 pounds of state and fedral laws.

Offline Danny

  • *****
  • Hero Member
  • Posts: 1671
    • View Profile
Re: 3D, puzzle, fish, key chains
« Reply #1 on: March 24, 2014, 11:42:22 am »
Thanks Roger....You have always been a Inspiration to this Forum. 
     You did a Great Job of composing this Tutorial.  I shall attempt a few.  Danny :+}
Danny  :+}

Offline Judy Hunter

  • *****
  • Hero Member
  • Posts: 2690
  • The world moves on.
    • View Profile
    • Artistic Sawdust and Other Fun Stuff
Re: 3D, puzzle, fish, key chains
« Reply #2 on: March 24, 2014, 04:05:14 pm »
Thanks Roger,  I am anxious to try this
I'm from North Dakota

Becky

  • Guest
Re: 3D, puzzle, fish, key chains
« Reply #3 on: March 25, 2014, 10:41:17 pm »
According to the weather report, the weather is supposed to be pretty decent this weekend.  I'm going to plan on giving this a go.  It's the least I can do after you went to all that trouble to write out the instructions! 

I'm still not sure why the tail doesn't fall off.  Either that or it will be tricky to assemble.  My guess is that you have to reassemble it in the right sequence since you have side and top/bottom interlocking pieces going on at the same time around the tail joint.  I'll probably be clearer when I am holding the pieces.

I think it looks like fun.  I'll be sure to post a pic.   :)

Offline Rapid Roger

  • *****
  • Hero Member
  • Posts: 1468
  • Hutchinson, Kansas
    • View Profile
Re: 3D, puzzle, fish, key chains
« Reply #4 on: March 26, 2014, 10:30:45 am »
Yes Becky, you assemble the pieces in reverse order than you cut them. I guess that I should have mentioned that in the tute.
Interlock the tail and the rear part of the body, then add the front/eye section and finally the head or mouth piece. When you put the peg into the eyehole it holds the whole thing together.
As I mentioned in the tute, BE SURE THAT THE PEG IS A PRESS FIT into the hole. To disassemble, you press the peg to one side of the head and pull it out. I helps if you leave the peg a bit longer than the fish is wide. If you use 3/4" thick material, the peg should be about 13/16" long or a bit more. If you cut it exact, you can use the tip of a ballpoint pen or something to push it out far enough to get a fingernail or two on it.
It is all very clear once you have it in your hands.  ;)

Rog   
An ounce of responsablity is worth 10 pounds of state and fedral laws.

smw

  • Guest
Re: 3D, puzzle, fish, key chains
« Reply #5 on: August 09, 2014, 06:55:35 am »
Just a thought guys but that fish could be articulated about the middle and made into a fishing lure


SMF

Teknoromi